To produce a podcast, you plan the episode, record clean audio, edit out problems, balance and process the voices, then export a consistent file for distribution. The workflow is the same whether you record alone or with guests, and a repeatable process matters more than expensive gear.
Step 1: Plan before you press record
Most weak episodes fail at the planning stage, not in the editing. Before recording, decide three things: who the episode is for, what one idea it delivers, and how long it should run.
Write a loose outline rather than a full script. Bullet points keep you natural, while a word-for-word script usually sounds stiff. If you have a guest, send them the topic, the recording date and a few technical tips (headphones, quiet room) at least a few days ahead.
Step 2: Choose where you record
Your room affects the result more than your microphone does. Hard, empty rooms add echo, and noisy rooms add problems no editor can fully remove.
- At home: pick a small room with soft surfaces such as a bedroom with a bed, curtains and a rug. Closets full of clothes are a classic trick for voice work.
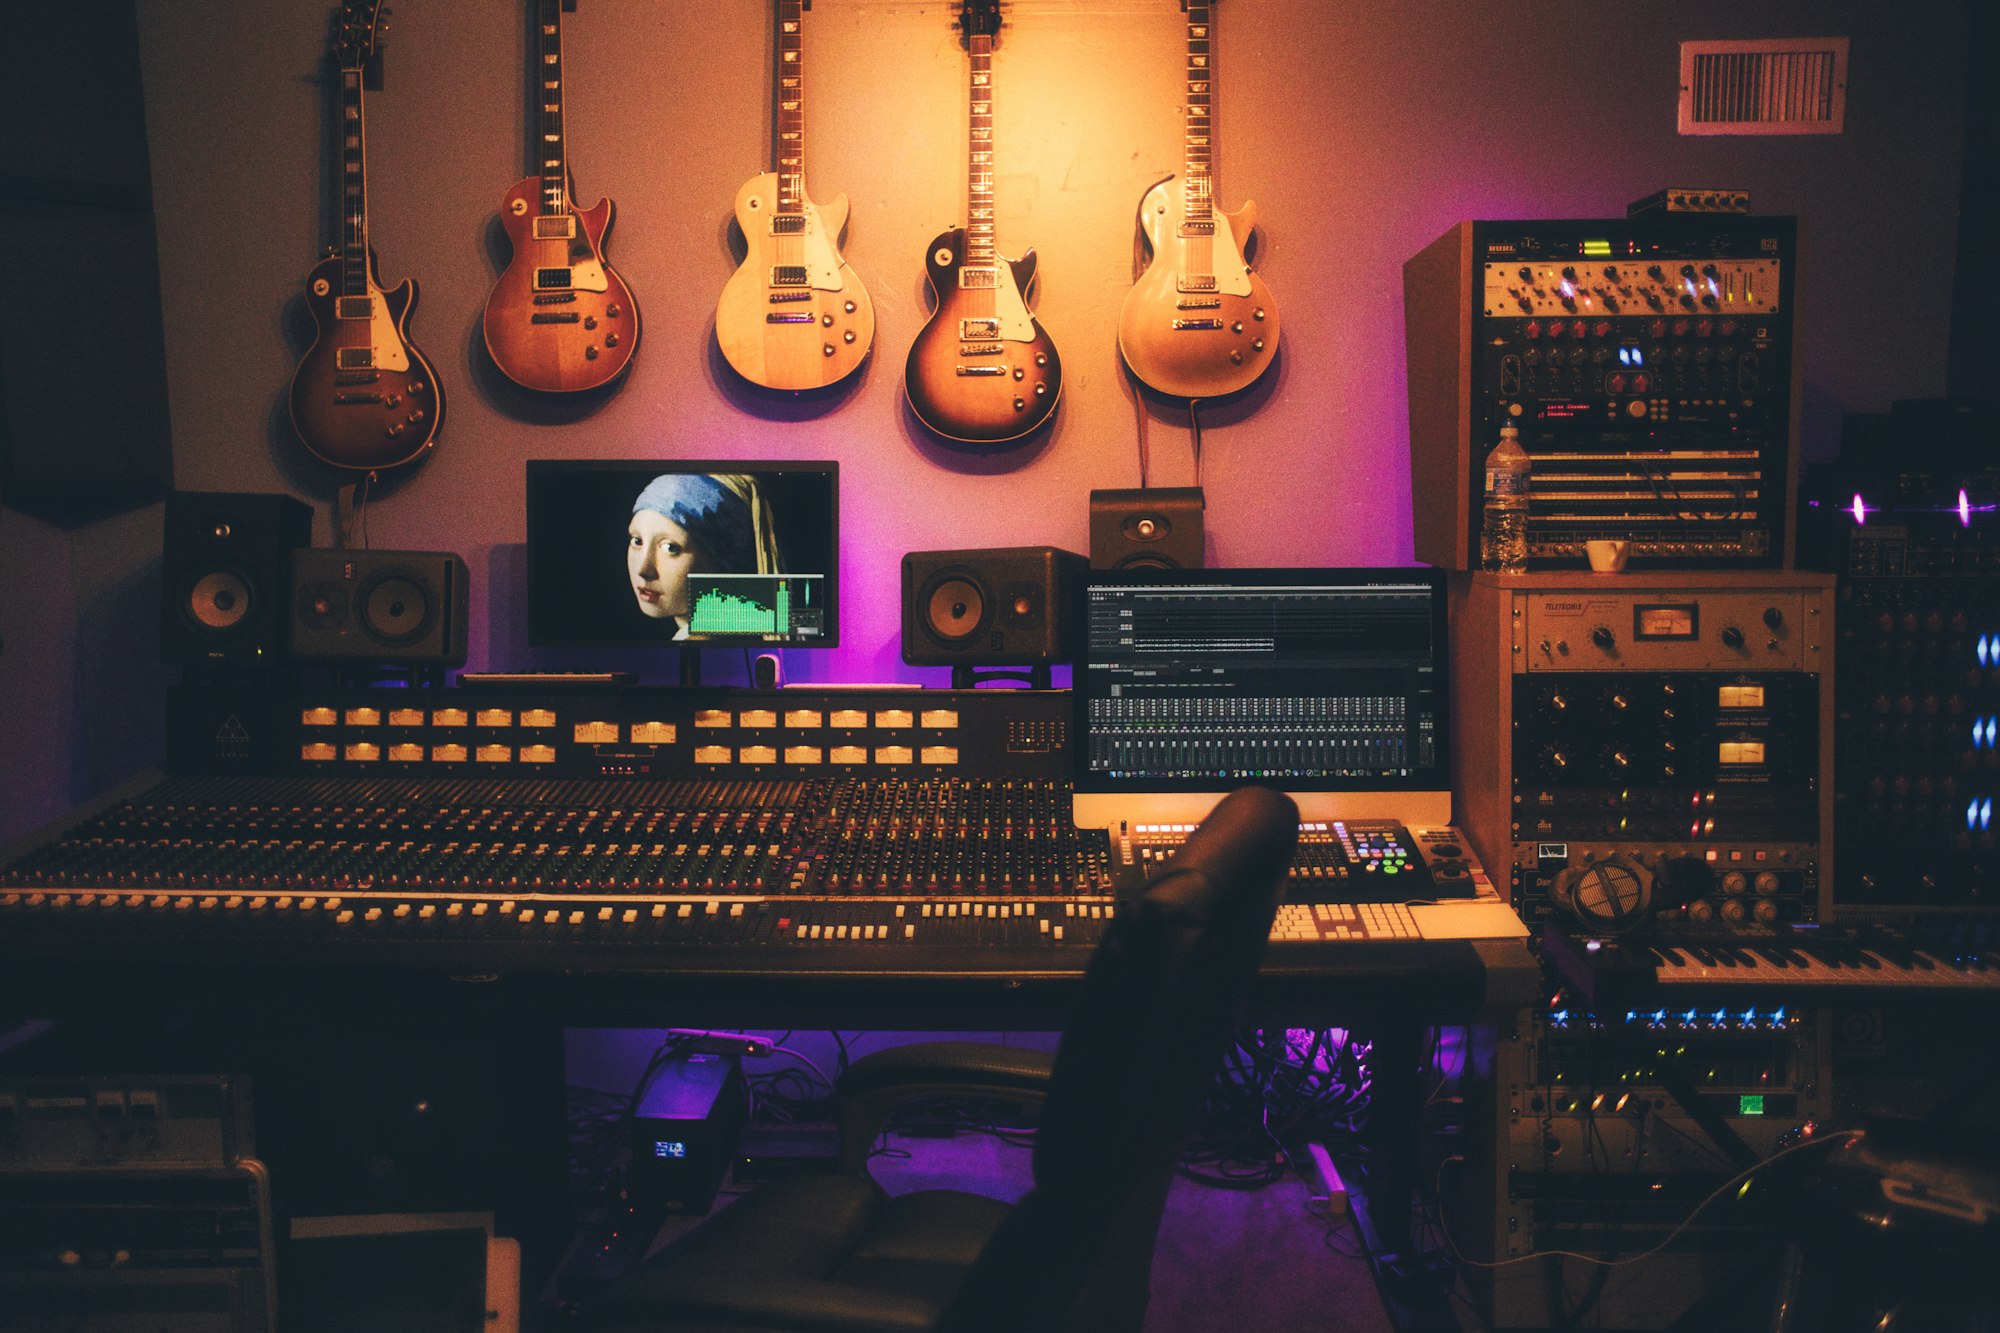
- In a studio: a treated podcast room removes the guesswork. At Musitechnic in Montreal, the studio and podcast room are available to creators, and students in our in-person audio production programs learn to run sessions like this.
If you are weighing both options, read our guide on home studio versus professional studio.
Step 3: Record clean audio
Good recording habits save hours later.
Mic technique
Keep a consistent distance from the microphone, roughly a hand's width for many dynamic microphones, and speak slightly across it to reduce harsh "p" sounds. A pop filter helps.
Levels
Set your input level so that normal speech peaks comfortably below the maximum and never hits the red. If you clip (distort), you cannot repair it afterward. It is better to record a little quieter than a little too loud.
Record a test
Record 20 seconds, play it back with headphones and listen for hum, air conditioning, chair squeaks and phone buzzes. Put phones in airplane mode.
Remote guests
For remote interviews, ask each person to record their own local track when possible, in addition to the call. Local tracks usually sound better than the call recording, because the call compresses the audio.
Step 4: Edit for clarity
Editing should serve the listener, not show off. Work in this order:
- Cut dead air, false starts and long tangents.
- Remove distracting noises, but keep natural breaths so voices do not sound robotic.
- Check pacing. If a section drags, trim it.
- Add intro, outro and any music or sound effects.
Listen to the whole episode once at the end, ideally on headphones and on a phone speaker, because many people will hear it that way.
Step 5: Mix and process the voices
Mixing a spoken-word show is simpler than mixing music, but it still needs care. The goal is voices that sit at a consistent loudness from the first minute to the last. Typical steps include gentle noise reduction, light equalization to reduce muddiness, mild compression to even out loud and quiet moments, and loudness normalization.
Aim to match the loudness targets of the platforms you publish on. Those targets are published by each platform and can change, so check current guidance rather than relying on a number from an article. If you want to learn the fundamentals behind these tools, see our mixing basics guide.
Step 6: Export and prepare for distribution
Export a high-quality master, then create the compressed file your host requires. Write your episode title, description and show notes while the content is fresh. Prepare cover art that stays readable at small sizes.
Distribution is a separate skill with its own decisions, covered in our article on podcast guesting and distribution.
Build a system, not a one-off
The creators who keep podcasts going long term usually batch their work: recording several episodes in one session, then editing on another day. A template session, saved intro and outro files and a simple checklist remove most of the friction.
Turn your audio skills into a business
A podcast can lead to sponsorship conversations, client work and collaborations, and the audio skills behind it can become services for other creators. If you want a structured place to grow that, the Unica Creator Business Hub is a partnership for creators, artists, social media influencers and young startups. You can join as a referral partner (direct referrals only). Unica incubation, delivered through Unica OS, is included with your full-time program: 6 to 12 months for online full-time and 12 to 20 months for on-campus full-time. A 90-day open pilot is available for 20 businesses. Incubation has no cash value and is not transferable.
Ready to take the next step? Join the Creator Business Hub partnership.
FAQ
How long does it take to produce one podcast episode?
It depends on length and editing style. A simple solo episode can take a few hours from recording to export once you have a system, while interview shows with heavy editing take longer. Planning and clean recording reduce editing time the most.
Do I need a studio to start a podcast?
No. A quiet, soft room and a decent microphone are enough to start. A studio becomes useful when you want consistent quality, multiple microphones in one room or a professional environment for interviews.
What is the most common podcast production mistake?
Recording in a reverberant or noisy room and then trying to fix it in editing. Improving the recording space and mic technique solves more problems than any plugin.
Should I record remote guests with a local backup?
When possible, yes. Having each participant record their own local audio gives you a better-sounding backup if the call quality drops.