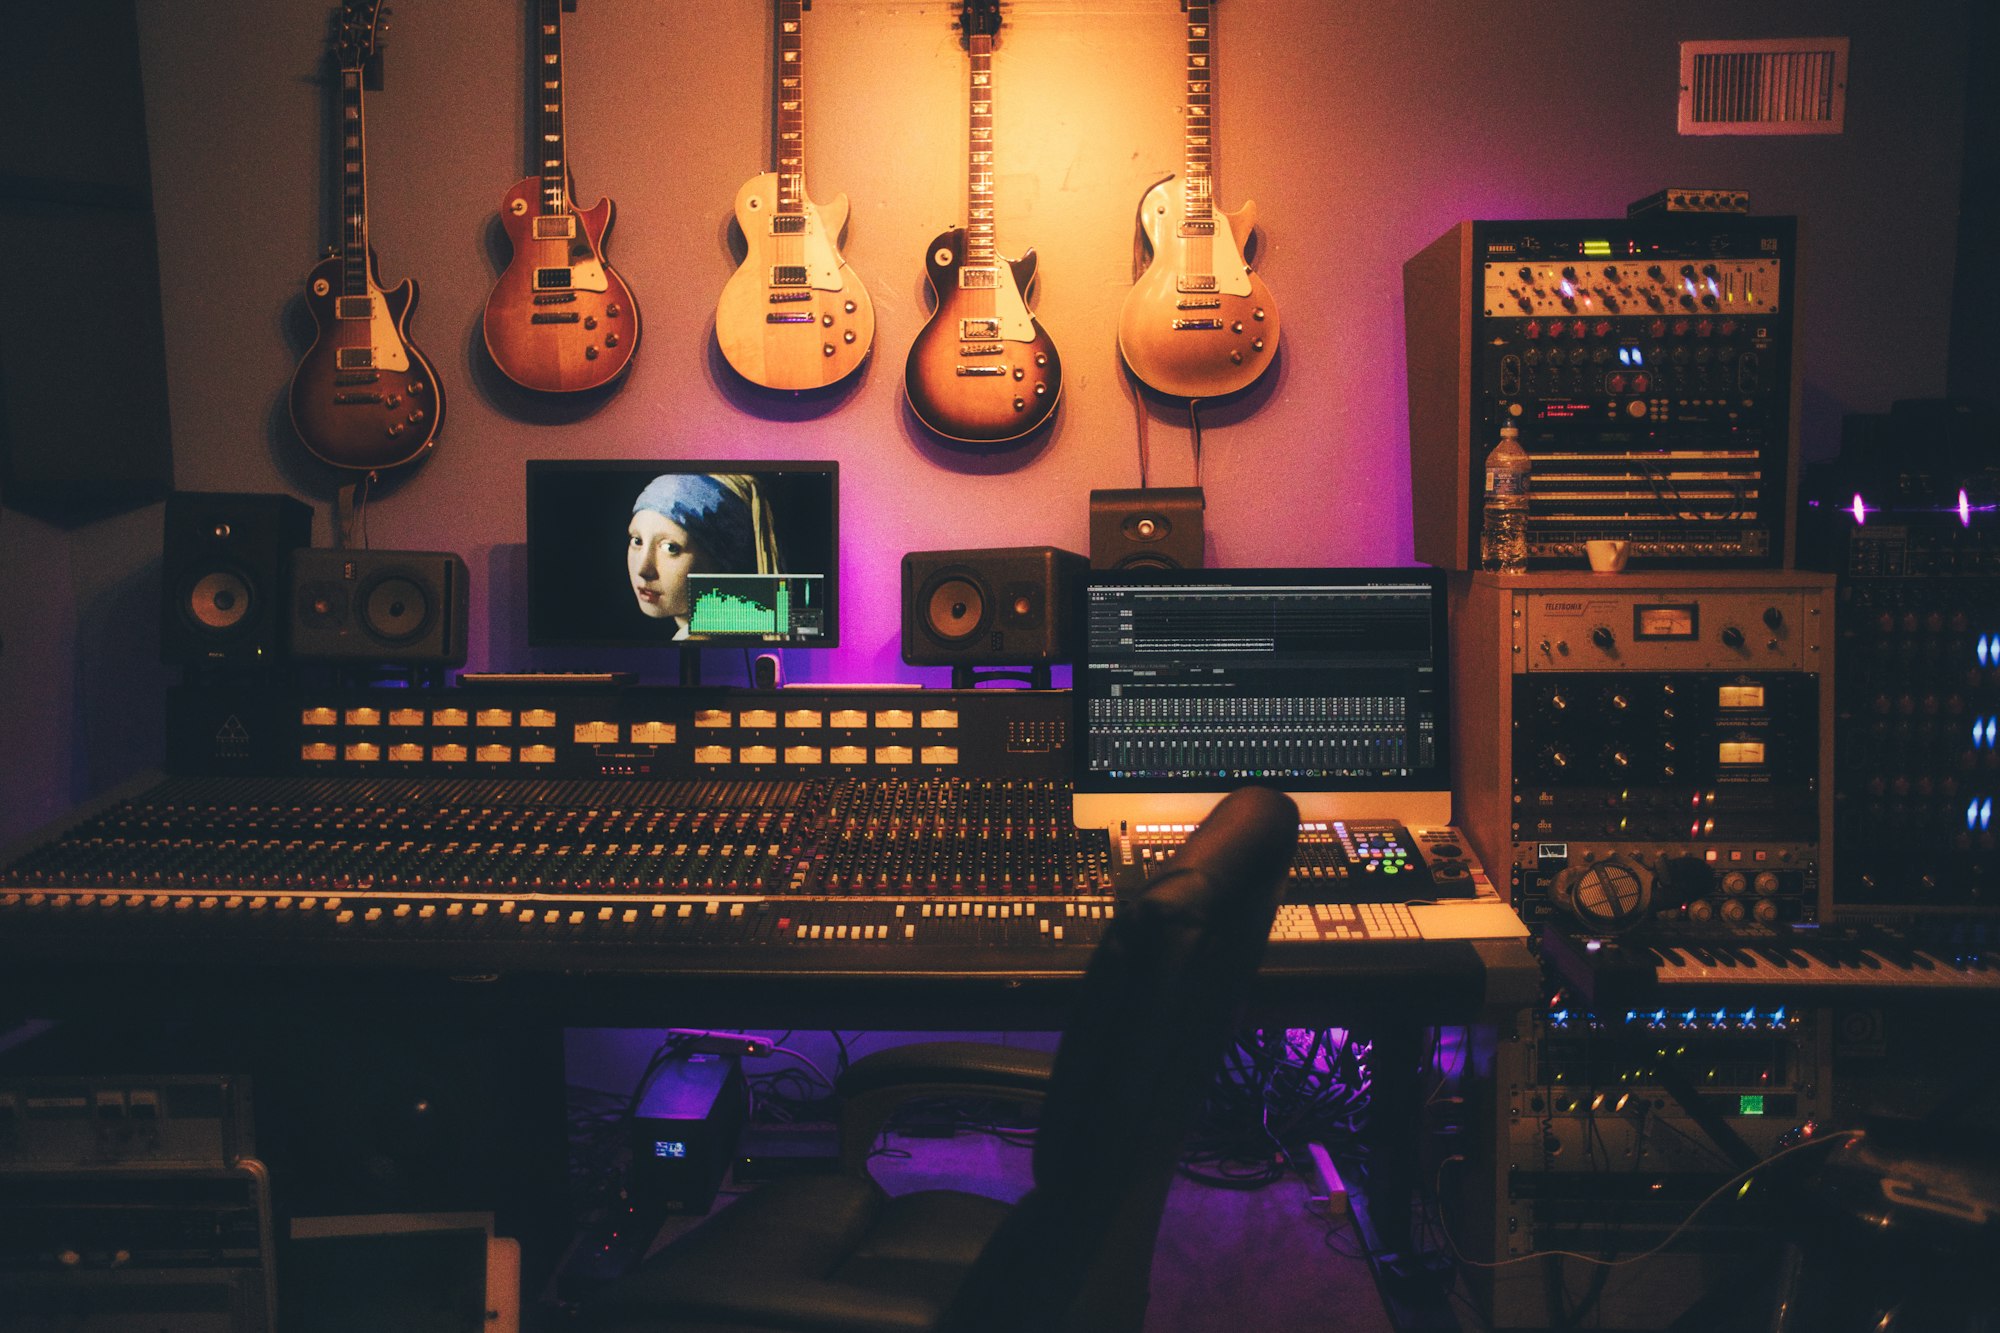
A mixing engineer's decisions are only as reliable as the monitoring environment. Without precise monitor positioning, physical decoupling from desk surfaces, and SPL calibration, frequency anomalies caused by boundary reflections and standing waves lead to inaccurate mixing choices. Setting up an equilateral monitoring triangle and calibrating reference sound pressure levels establishes an accurate listening baseline.
The 38% placement rule and equilateral triangle
Control room setup begins with physical monitor and seating geometry. Position the listening chair approximately 38% of the room's total length away from the front wall. This distance minimizes severe low-frequency room mode peaks and nulls.
Form an exact equilateral triangle between the left speaker, right speaker, and the engineer's head. If monitors are spaced 5 feet apart, place the listening position 5 feet from each speaker axis. Angle (toe-in) monitors 30 degrees toward the ears, ensuring tweeters sit at ear height to prevent high-frequency off-axis attenuation.
SPL calibration and C-weighted reference monitoring
Human hearing frequency response changes at different volume levels (Fletcher-Munson equal-loudness contours). Mixing too loud causes premature ear fatigue and over-emphasizes bass and treble; mixing too quietly causes over-boosting low end.
Calibrate reference monitoring levels using pink noise and a C-weighted SPL meter set to slow response. In small control rooms, calibrate each monitor independently to read 79 to 83 dB SPL C-Weighted at the listening chair. Mark this volume on your monitor controller as your calibrated mixing baseline.
Practical studio workflow: 3-step monitor setup
Consider setting up active 8-inch studio monitors in a Westmount control room.
Step 1: Mount monitors on heavy isolation stands decoupled with high-density foam or rubber pads to prevent desk resonance. Step 2: Measure an exact 60-inch equilateral triangle from tweeters to ear center; confirm tweeters align with ear height. Step 3: Play -20 dBFS pink noise into the left monitor, adjust output gain until the C-weighted SPL meter reads 80 dB SPL at ear level. Repeat for the right monitor.
Monitor calibration checklist
- Position listening position near 38% of room length from front wall.
- Construct an exact equilateral triangle between monitors and ear position.
- Align tweeter acoustic centers with ear height; toe-in 30 degrees.
- Decouple monitor enclosures from meter bridges using isolation pads.
- Calibrate individual speaker output to 79–83 dB SPL C-Weighted with pink noise.
- Consult Genelec and Sound on Sound studio calibration guidelines.
Common monitor setup errors
A common mistake is placing monitor enclosures directly against front wall boundaries, which artificially boosts low frequencies (boundary loading) by up to 6 dB. Another error is placing monitors flat on a hollow wooden desk without acoustic isolation, causing desk vibrations that muddy low-mid clarity.
Next steps in control room setup
Measure your listening triangle with a tape measure and verify C-weighted SPL levels with a meter. To study control room acoustics, speaker design, and reference monitoring in Westmount facilities, explore our sound recording and design program.
Master studio monitoring and control room design
Train in acoustically calibrated control rooms in Westmount.
Book a studio visit